Supplies You’ll Need Before Coloring
Before you get started, there are a couple of things you’ll need to have:
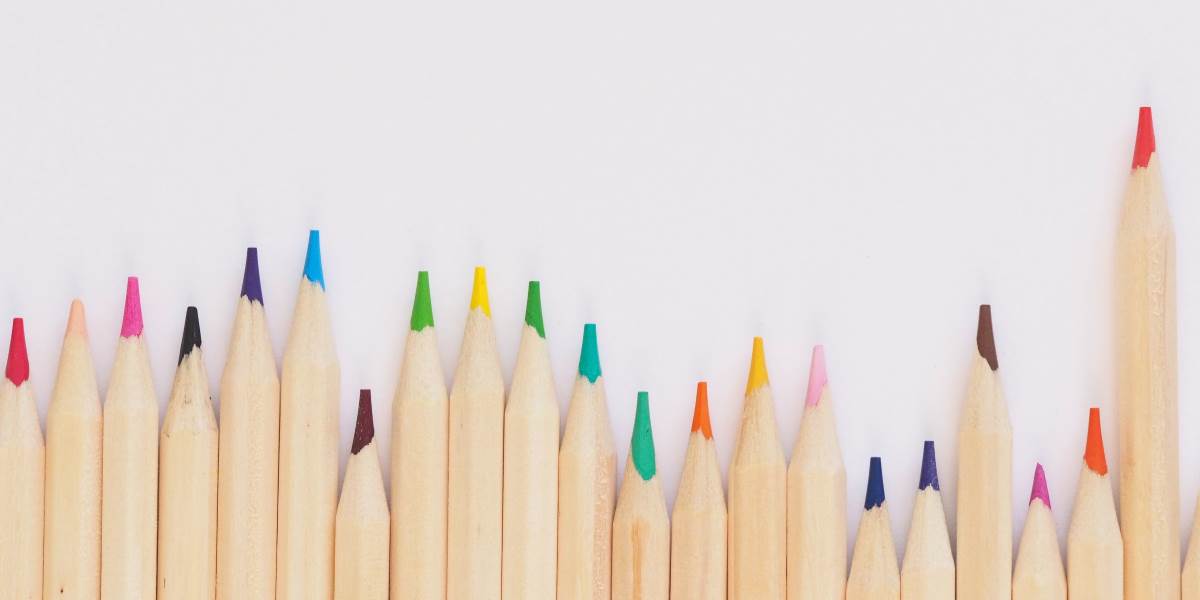
Colored Pencils
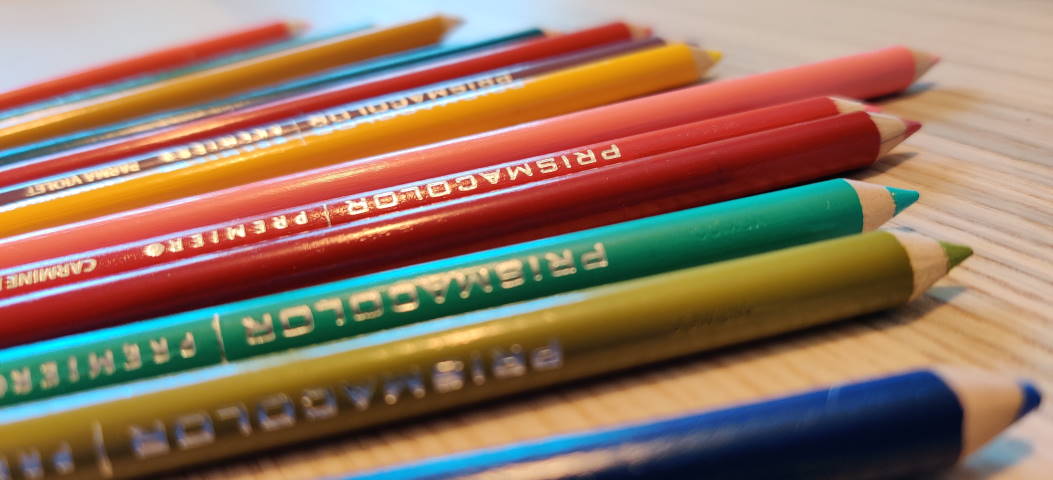
This is probably obvious, but you’ll need some colored pencils to get started. We could easily go down the rabbit hole of which colored pencils are best, but that’s a topic for another article. In the beginning, pretty much any brand of pencil will work.
More important than the brand is the count; you want a set of at least 24 pencils to get a good variety of colors. Crayola sells a 24 pack that you can find for a few bucks. If you want higher-quality pencils, you can look at the Prismacolor Premier colored pencil sets.
Paper
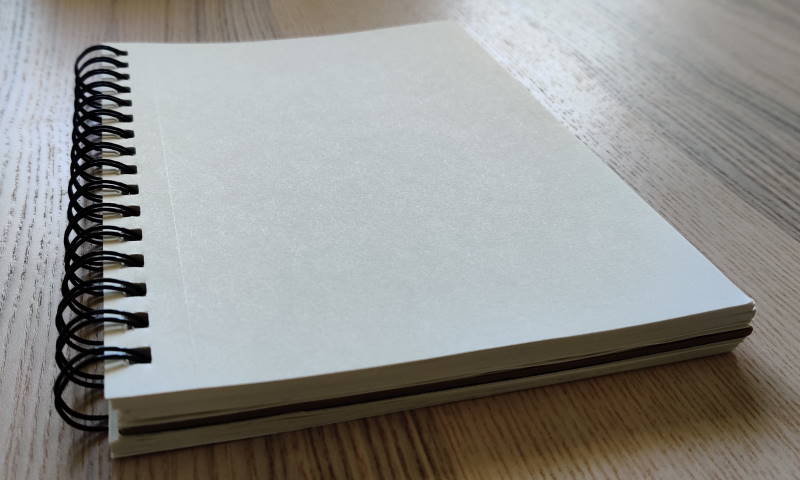
You’ll need some paper to color on, and the type of paper can have a surprising impact on your coloring. The main thing to look at is the texture of the paper, also known as the tooth or the grain. Paper is made of fibers that are pressed together, and the resulting surface can be rough or smooth. Rougher paper has larger fibers with more space between them, and smoother paper has finer fibers that are pressed tightly together. When you run your colored pencil over the surface of the paper, the pigment breaks off of the tip of your pencil and fills in the tiny gaps between the fibers of the paper.
Rougher paper has more of these gaps, which means it takes more work (and more of your colored pencil pigment) to completely fill the space. This can be useful if you’re trying to build up different layers of color. It also means that it will be harder to get a smooth finish and remove that grainy texture you get with colored pencils.
Smoother paper is pressed tighter than rough paper, and there isn’t much space for the pigment to stick into. With smooth paper, you have to be more careful with your color choices, because the paper doesn’t let you layer colors easily. However, you can get a smoother finish than you can with rough paper, and it’s easier to blend colors together by burnishing.
For now, whatever paper you can get your hands on is fine. You can even use computer paper. Down the line, you can try out some different papers and textures to see which best fits your art style.
Surface
The last essential item you’ll need to start coloring is a surface. You need a flat, clear area where you can set your paper down and work comfortably. It’s better to color on a smooth surface. Coloring on a wood table or another textured surface could leave an impression on your finished work. If you’re having trouble finding a smooth surface, you can put a few more sheets of paper underneath it to smooth things out.
Sharpener

A pencil sharpener technically isn’t essential, but you’ll want to get one pretty soon if you don’t have one already. Most pencils will come sharpened out of the box, but you’ll quickly wear down the tips. Manual sharpeners are better (and cheaper) than electric ones, but at this point, anything is better than nothing.
Your pencils will perform best when they’re sharp. Remember those tiny gaps between the paper fibers that give it its texture? A sharp pencil will get color into the tiniest cracks that a dull pencil point can’t.
Smudge Guard
This is another optional tool, but once you start using it, you’ll never go back. A smudge guard is just something you put between your hand and the paper to stop you from smudging your hard work. Most artists use a clear sheet of thin plastic, but you could even use another sheet of paper. The idea is that you never want to rest your hand directly on top of a place where you’ve already colored.
Before You Start
Once you’ve got your colored pencils and other supplies together, there are a few things you can do before starting to color:
Choose Your Colors
It can be tempting to jump right in and start coloring, pulling colors out of the box on a whim, but wait! A bit of planning now can really improve your final result.
Using a well-planned color scheme is one of those subtle things you can do to make your work stand out. There are lots of different formal and informal ways to come up with a color scheme, but they all incorporate color theory. Learning more about the color wheel and how the different colors, shades, and hues interact will help with all aspects of your coloring.
The idea behind a specific color scheme is to emphasize the interactions between colors. One of the simplest color schemes, the complementary color scheme, uses two opposite colors to create an image with a lot of contrast. The contrast between the two colors helps them both pop.
By limiting yourself to a certain range of colors, you’re creating a more uniform look while also leveraging the interesting ways that colors play off of one another.
To start, pick two or three main colors, and then choose your colored pencils, grabbing some lighter and darker shades of each color. You’ll use the lighter and darker shades to add shadows and highlights and make your coloring look more realistic.
How to Hold Colored Pencils
How you hold your pencil is going to come down to personal preference, and can affect your coloring more than you might expect.
Holding your pencil closer to the tip will give you a lot of control over the pencil. Staying inside the lines will be easier, but it’s not the most comfortable grip.
Holding the pencil more towards the back will give you less control, but more range of motion. You can move your pencil further with smaller motions from your hand and wrist.
How To Color
You’ve got all your supplies and you’ve done all your prep. Now it’s finally time to color.
Coloring really comes down to learning individual coloring techniques and then incorporating them into your coloring process. When starting out, you can feel overwhelmed trying to learn everything. Resist that urge! We’ve included the most important beginner techniques and processes below, and mastering these will give you an excellent foundation to improve your colored pencil skills.
Coloring Techniques
Coloring techniques are the physical motions and actions you use to color. These techniques will explain how to color to achieve a certain result or effect. As you practice these techniques, you’ll also learn when to use each of them, and how they fit into your overall coloring process.
Cross Hatching
Cross hatching is one of the most basic coloring techniques. It’s simple, but it lays the foundation for the more advanced techniques, and it is one of the best ways to lay down your base colors when starting a new piece.
For most people, the most natural way to color is to hold your pencil over the paper and move your wrist back and forth to sweep the tip of the pencil over the surface of the paper. As you do this, you also slowly move your hand, so that you aren’t just moving your pencil over the same area.
As you move your hand, each sweep of the pencil moves as well, and with the right timing, you will start to see a solid block of color form. If you look closely at this block of color, you can see the direction of your pencil strokes.
This becomes a problem once you start coloring in another area and need to join it back to the first. Even though the two patches are the same color, the direction of the pencil strokes gives them a different texture. When combined, they won’t look like one cohesive block of color. They’ll look like two separate patches butting up against each other.
Cross hatching is one way to solve this problem. Cross hatching involved building up multiple layers of color in the same area, and changing the direction of your pencil strokes as you go. All you have to do is color in a patch of color, and then go over it again in a different direction. Make sure that you are coloring lightly and not pressing down too hard. Each pass you make will make the color richer and smoother. The result is a much more uniform texture, and the more times you go over the same area, the smoother it will look.
Coloring in Circles
Another way to hide the direction of your pencil strokes is to color in circles. Rather than sweeping your pencil back and forth in an arc, move the tip around in small circles. This motion means that you’re constantly changing direction, eliminating the problem that cross hatching aims to solve. Rather than smoothing your coloring out over several passes, you’re doing it all at once.
Coloring in circles is a great way to hide your pencil strokes, but it can feel slow and awkward if you are used to coloring back and forth. Like so many other things, using this technique will come down to personal preference.
Burnishing
Burnishing is a finishing technique that you should use once your happy with the colors you’ve built up. Up until now, we’ve been coloring lightly. Each pass we make while cross hatching makes the color a little bolder, and covers up more of the paper beneath.
After going over the same area enough times, you won’t see much difference by making another pass. You reach a point where there is very little of the white grainy texture of the paper showing through, which means that you’ve pretty much covered the paper with pigment. Now you’re ready to burnish.
With your final pass, press the pencil firmly against the paper. This will help force pigment into those last few nooks and crannies in the paper, and will help smooth and blend the pigment that is already on the page. The end result is a smooth, glossy patch of color.
Be warned: burnishing is a finishing technique. After pressing so hard, you won’t be able to add any more pigment to the page in that area. That means the color you end up with is final, and you won’t be able to lighten or darken it afterwards.
Blending Colored Pencils
Once you’ve mastered how to lay down a single color smoothly and evenly, you can move on to blending two different colored pencils together. Blending is the one colored pencil skill everyone wants to learn, and it will let you add depth and realism to your artwork.
First, you’ll need to choose the colors you want to blend together. Colors that are closer together on the color wheel will be easier to blend together. Otherwise, you may need to use a third color to blend between the first two.
To start blending, you want to build up layers just like you’re cross hatching. The difference is that you’ll be switching back and forth between your blending colors. Build up layers of the first color where the blend starts, and layers of the second color where the blend ends. For the areas in between, switch between the two colors to create the blend.
Once you’ve built up enough color, you’ll want to burnish the blended area. Burnishing is a lot trickier with multiple colors, but if you’ve built up your layers well, it will be easier. Go slowly and don’t press too hard to start. If you press to firmly to begin with, it can be harder to correct the blend color later.
You should burnish the blend from the outside in, starting with the solid colors and working towards the blended area. At this point, coloring in very tight circles and switching colors as needed will really help. Avoid burnishing too much of the blend at a time with one color, or you may not be able to work in enough of the other color to even the blend out.
The Coloring Process
Mastering the skills above is only half the battle. You have to understand where and when to use these techniques to create the effects you want. This is all part of the coloring process.
Start With Base Colors and Slowly Build Layers
The process generally starts with laying down a base color. The goal here is to fill an area on the page with a few very light layers to establish the main color.
It doesn’t matter whether you add the base colors for every area on the paper at once, or complete each area entirely before moving on to the next one. If you’re filling in a large area with colored pencils, try to build up the layers evenly across the entire space. Overworking one specific section can leave the larger area looking uneven.
As you’re building up your base colors, start to think about where you can blend in other colors to add depth and realism. Consider how the light would hit the surface and create highlights and shadows. You can use soft, gradual blends for rounded objects and accentuate sharp edges with unblended color changes.
Shading and Highlighting
If you’re going for a realistic effect, you should focus on shading and highlighting. Using a single color can make things look flat. Blending in lighter and darker colors gives the illusion of shadow and depth, and really brings your art to life.
The hard part is knowing where to shade and add your highlights. You need to make a decision about where the light is coming from in your picture. Then, you can imagine how the light would hit the object your coloring.
You also need to determine how soft or hard the shadows are. Smoother, rounder surfaces have softer shadows where you’ll want to blend your colored pencils. Corners, edges, and sharp angles lead to abrupt changes in the light, with hard lines and color transitions. Knowing how to blend is important, but you also need to learn when not to blend.
Which areas are closest to the light, or pointed straight at it? These will be the brightest areas, and that’s where you add your highlights. Keep these areas lighter by using a lighter shade of your chosen color. A white colored pencil can help to blend and burnish these areas and smooth out the grainy texture.
Things that are further from the light, or facing away from it, should be darker. Find the darkest spots first, and start blending in darker shades of your chosen color. Gradually blend the darker shades into the lighter areas. Use shadows to emphasize the contours of whatever you are coloring, shading along the folds of fabric or around curves and slopes.
Finishing
At this point, you have all the tools and skills you need to go from a blank page to a completed work. You can follow the process for each individual area in order, or you can work on all the areas of the page at once and build them up together. Once you’re happy with your work, you can take a few steps to preserve your art.
Bright light will gradually fade the colors you worked so hard on. Colored pencils have a lightfastness rating which determines how quickly the color will fade, but there are other methods that can keep your colors bold.
Spray-on fixatives are a good way to fight fading. You can spray a clear coat of fixative over the top of your artwork to seal in the pigment and help protect it from the light. There are even special frames you can buy to prevent light and sun damage, but they can be pricy.
A great way to protect your colored pencil art is to invest in a portfolio. These large, flat briefcases-for-art will let you keep your pages flat, dry, and dark so that the colors stay bold.
How Can I Improve My Coloring Skills?
Practice, practice, practice. The more you repeat these techniques, the better you will get. You’ll find new ways to use these skills in interesting combinations, and get better about choosing the right technique for the job.
Looking at other art, in person or online, is another great way to get inspired. Study a finished work and see if you can spot the techniques the artist used. Getting feedback is also really helpful. If there’s an artist you admire, reach out to them and see if they will critique your work and help you improve.